Monday, August 11, 2014

The Fuel Gauge

I spotted several Jungmann fuel gauges for sale this week so I decided to check mine just to make sure it was repairable. With the help of Brian Karli I managed to get it apart without any damage. It looks like with a new spring and some seals it should be OK.
Here is what it looks like all together, these five are for sale at www.bucker.info
The top of the gauge unscrews from the threaded boss that screws into the tank.More on the little piece in the middle later.
To disassemble the gauge sight glass you have to remove the safety wire on the top nut. The wire is brass and the pigtail is normally pushed down into the slot.
I used a drag link socket that I have ground down to fit the main jet of a Stromberg Carburetor . The right tool is important here to prevent damage, I used just a little heat from a propane torch to loosen things up.
Here it is disassembled just two seals at the top and bottom and the glass tube.
It is important to notice that the lower nut is peened together and will not come apart without considerable effort. You can see the peen mark in this picture.
At first I could not get the lower half of the gauge apart, the seal had become hard and I had to break it to remove the float assembly. Here is a shot of the seal in place.
I soaked this with corrosion X for a couple days and still could not get it apart, I finally managed to dig into it and break the seal so I could get it out. Here are a couple pictures of the top and bottom, looks like it was rubber at one time.
With the seal removed I could then remove the brass guide tube and the gauge rod/float assembly.
Unfortunately the guide tube came out in three pieces where the solder joints had failed. Should be an easy fix. Here are the three parts, the lower flange, the tube, and the upper spring retainer.
I am pretty sure they go together like this.
I am not sure what the spring does but this one looks trashed.

Is the ferule at the top of the guide tube supposed to hold the top of the spring ? Looks like I need a new spring anyway.  Here is the seal that was under the guide tube flange.

Overall it does not look too bad, a new spring , seals, and some solder should fix it right up. Suggestions/advice are always welcome at BR549JP@verizon.net
Thanks


Thursday, March 8, 2012

Flying Wires

One of the first projects after getting it home was to evaluate the condition of the flying wires. I counted them up and it appeared that they were all there. However it looked like they had been stored against a piece of steel that had rusted. They were all dirty and rust colored, I was lucky that someone had converted to stainless steel MacWhite wires so I figured they would clean up OK. Here are a few shots of the wires as received.


I was a little worried about these and how they would clean up. There are a lot of wires on a Jungmann and some of them are of unusual configuration with extra long threaded sections . I would guess these would be close to $4000  to replace today. None of the threaded ends appeared to be damaged and the AN 665 terminals though a little rusty came off easy.


I used this method to clean these up. I took a piece of 2 inch PVC pipe the length of the longest wire, and I capped one end. I inserted the wires without the end fittings then filled the tube with carburetor cleaner. I let them soak about 30 minutes, removed them and scrubbed them down with the finest scotch brite pad available. I really did not need to scrub much as the stain came right off. I then used a soft brass brush on the threads and finished with a through fresh water wash. Here you can just see the tube and my wash rack.


They came out fantastic, they look brand new.

 
You can see the unusual wires at the bottom with the round section and a streamline section. Looks like a special order from Bruntons !


I'm not sure if these are tail wires or the aileron interconnect wires, you can see the long threaded section on the top two. Here is a shot of the wash rack.


I let these dry over night then I sprayed and wiped them down with LPS2 . I grouped them by size and stored them in cheap pvc pipe so I do not have to clean these again. I am still searching for all the end fittings and trying to figure out what has been drilled out English and what's still metric.
Overall the wires are in fantastic shape , with no nicks, pitting or damage. With a light polish after installation, they will look fantastic.

Monday, March 5, 2012

Jungmeister Panel

One disappointment with the Jungmann project was the lack of original instruments. It had an original Spanish compass but everything else was either missing or had been replaced with American equivalents.
I watch Ebay pretty close and over the years had managed to pick up a few original Spanish and German instruments. I had an original mag switch, a couple altimeters, and a couple compasses. There is one guy out in LA that sells a lot of German instruments on Ebay but his prices were out of my league. Last week I came across this Jungmeister panel in the collectibles section of Ebay.
 It was easy to tell that the panel was not from an original Jungmeister because it was cut from 1/8 thick aluminum. They would never use something that heavy in an original Bucker! Since the ranges of the gauges pretty closely matched the performance of the Jungmann I decided  to throw in a sniper bid of $100 per instrument. I won the auction by just 10 dollars. I told the seller I would drive up with cash to eliminate the shipping problems and risk. He was just west of DC in Maryland.
After some evaluation I could not be more pleased with this purchase. they are all in excellent condition except for the broken ear on the rate of climb, and the sensitive altimeter does not work.
They all have manufacture dates from 35-41 and are all original German gauges. They will look great in the Jungmann or will be great trading stock for original Spanish instruments or the missing German ones. I found the great web site with information on German instruments.

http://www.germanluftwaffe.com/index.htm

Here are a few shots of the individual instruments. This FuhrerKompas is my favorite.

  Yes, the card is in there, the fluid is just cloudy.


There are two altimeters , one goes from 0-1 KM in tenths and the other from 0-8 KM. Here's the 0-1 gauge, this one does not work and the adjustment knob is missing.


Here's the back, looks like 1937 to me.


Here's the other non-sensitive altimeter, it works good.


Here's the back


The one gauge I could not figure out was the rotary switch on the right side. I could not make out the words on the Ebay ad. After getting it home with the help of Google translate it says "sensitivity" and  "turn indicator". It is a 8 position valve that must vary the suction input to the Turn and Bank indicator.


Check out this steel ball turn and bank.


Super sweet !


The 0-400 KM/hr airspeed works great.


The tach has the worst face, and the range will be too low for my Lycoming installation.


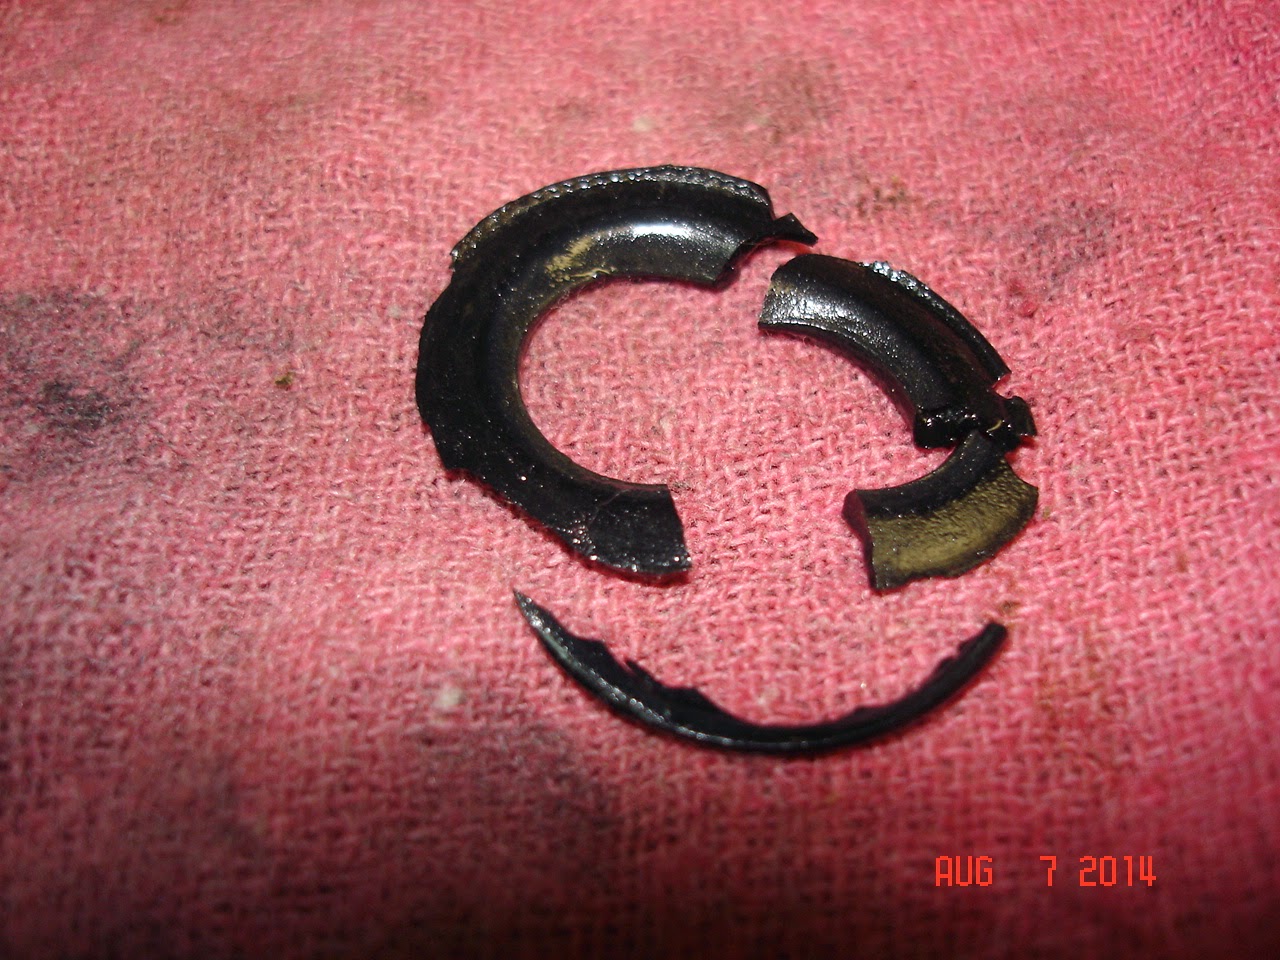
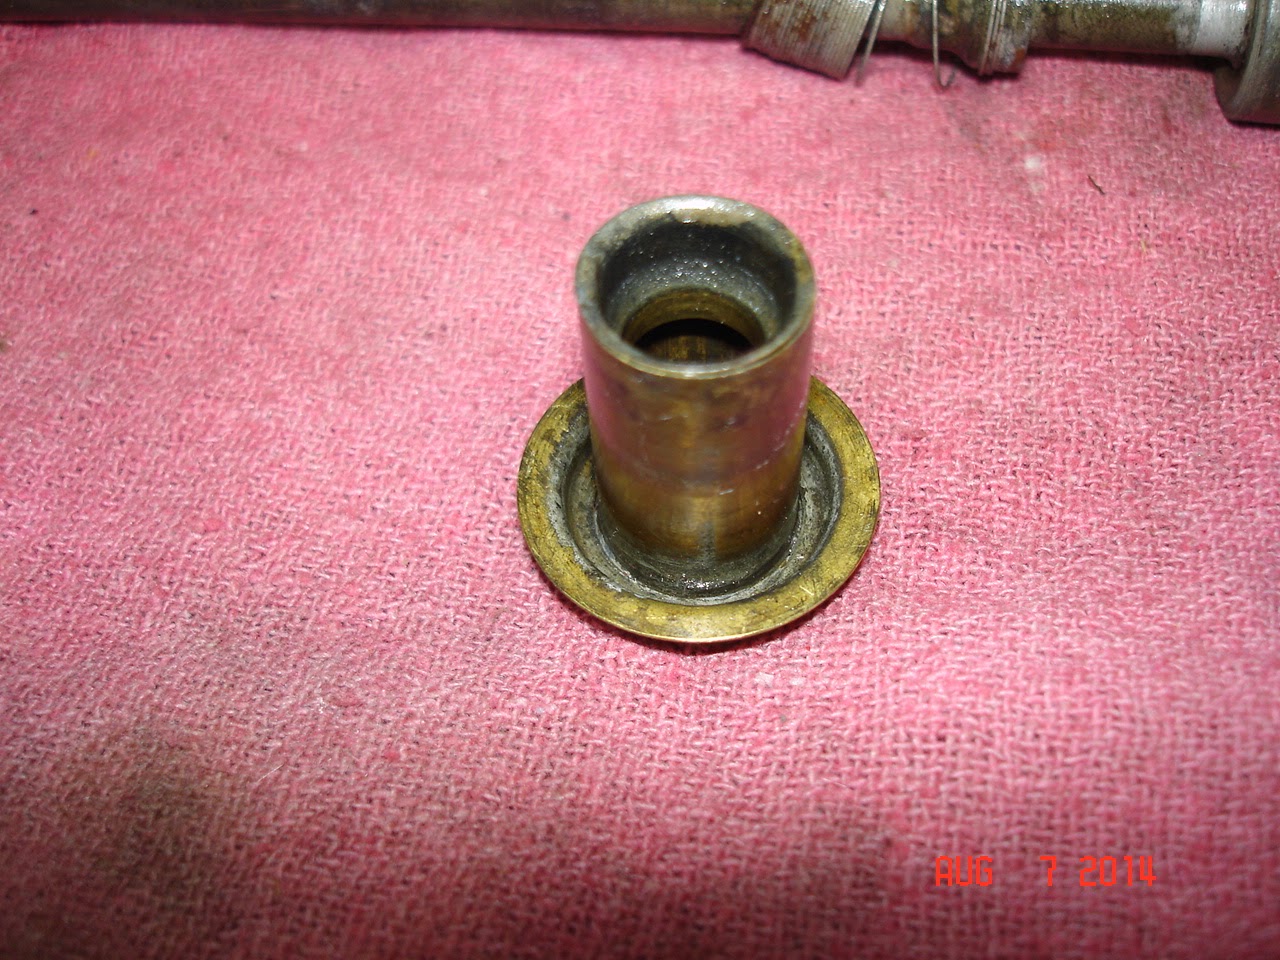
Here is the rate of climb gauge. This is the really old style like the early Pioneers that used a Thermos jug for a reference pressure. They really do not work very well. I have the tank, a Thermos Model 4 with a fitting soldered into the cap! The mounting ear is broken but gauge operation should not be effected.


Overall I think I did pretty good for the money. BC says these will ad real class to the Jungmann.